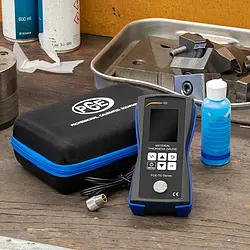
Ultrasonic Thickness Gauges PCE-TG 75
Views: 2497
$0.00
Calibration reference mounted on the housing / Material thickness measurement up to 225 mm /
Limit alarm / Optional ISO calibration certificate
Description
Calibration reference mounted on the housing / Material thickness measurement up to 225 mm /
Limit alarm / Optional ISO calibration certificate
With the limit value function in the ultrasonic thickness gauges, individual maximum and minimum values can be stored. If the measured value of the test piece is outside the limits, the Ultrasonic Thickness Gauges signals this visually. If necessary, the signaling can also be done acoustically by the ultrasonic thickness gauges in addition to the visual display. This is why the ultrasonic thickness gauges is used, for example, in quality assurance and in incoming goods inspections.
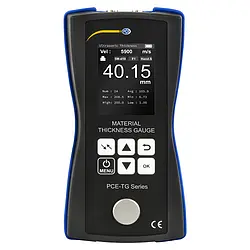
The ultrasonic thickness gauges has a data memory on which the measured values can be recorded. After a measurement sequence, the stored measurement values can be analyzed directly on the Ultrasonic Thickness Gauges. The stored data are graphically displayed by the Ultrasonic Thickness Gauges. In addition, each individual measuring point can be approached and read in the graphics of the ultrasonic thickness gauges. For a simplified analysis of the measured values, the average, the largest and smallest measured value is displayed on the Ultrasonic Thickness Gauges. The Ultrasonic Thickness Gauges can optionally be equipped with an ISO calibration certificate.
– Measured value memory
– Calibration reference on the housing
– Automatic shutdown
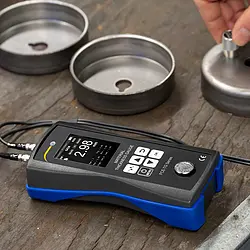
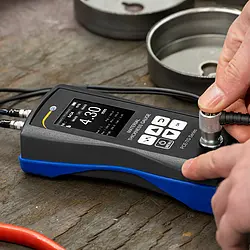
– Material thickness measurement up to 225 mm / 8.85″
– Battery status indicator
– Optionally with ISO calibration certificate
Specification
| Measuring range | 1.00 … 225.0 mm / 0.04 … 8.85″ |
| Resolution | 0.01 mm at ≤99.99 mm |
| 0.1 mm at ≥100.0 mm | |
| Accuracy | ±0.5 % of measured value + 0.05 mm |
| Storage space | 500 measured values |
| Probe frequency | 5 MHz |
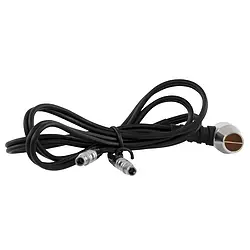
| Standard sensor | sensor PCE-TG 5M10d |
| Further specifications | |
| Adjustable speed of sound | 1000 … 9999 m/s |
| Smallest pipe diameter | Ø20 x 3 mm (steel) |
| Material library | 15 memory locations |
| Calibration reference | 4 mm |
| Display | 2.4 inch TFT LCD color display |
| with brightness adjustment | |
| Power supply | 3 x 1.5 V AA batteries |
| Automatic switch-off | switched off, 2, 5, 10, 30 minutes |
| Ambient conditions | 0 … 40 °C / 32 … 104 °F, <90 % RH, non-condensing |
| Dimensions | 163 x 82 x 38 mm / 6.4 x 3.2 x 1.5″ |
| Weight | 320 g / 11.2 oz |
Delivery Scope
1 x Sensor PCE-TG 5M10d
1 x Coupling gel (TT-GEL)
1 x Transport bag
3 x 1.5 V AA batteries
1 x Quick start guide
